
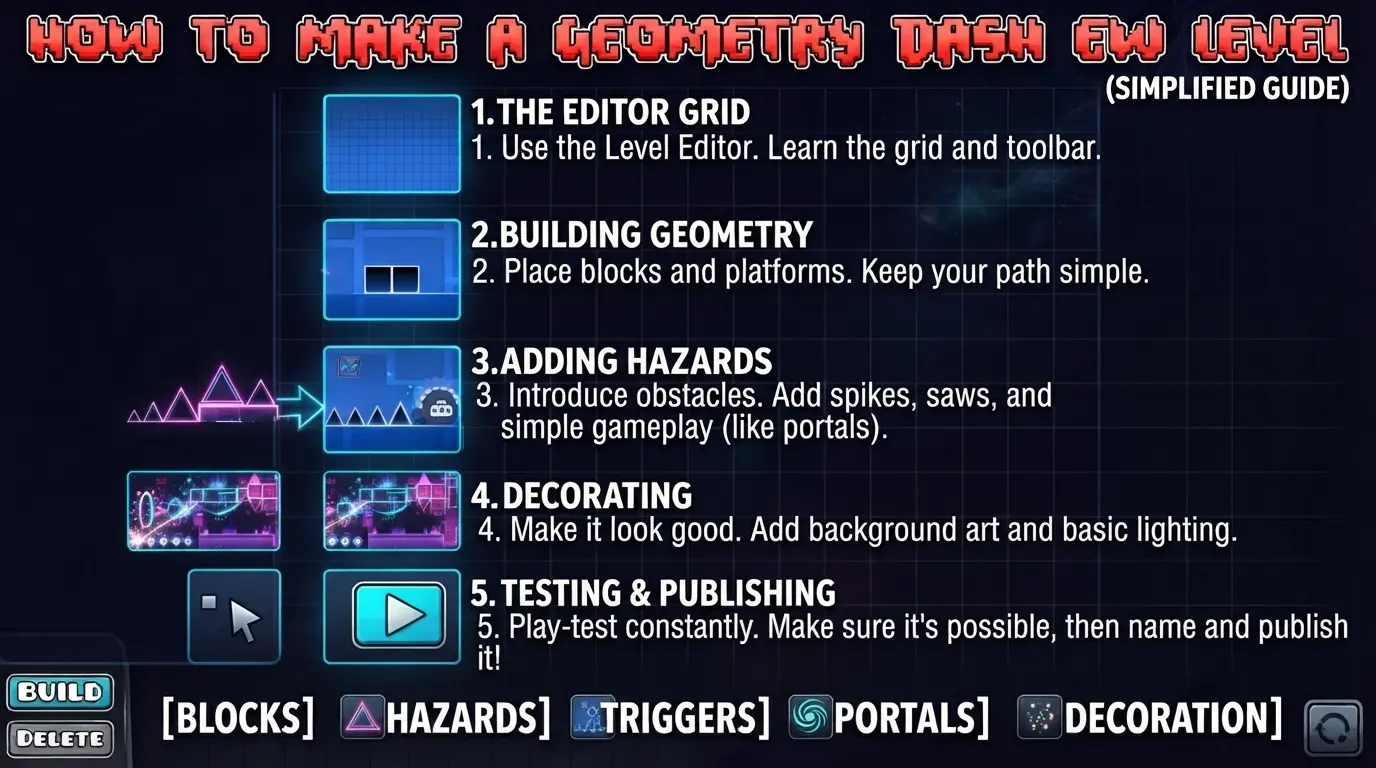
To make a first Classic Geometry Dash level, create a short layout, add readable obstacles, test each section, decorate lightly, then verify and upload it. This walkthrough covers one beginner project. Use the editor reference for controls or the creative workflow guide for planning.
» Step 1: Start a New Level
Open Create, start a new level and give it a name. A new project has a default environment that you can configure; you do not need to create every part of the ground and background from nothing.
» Step 2: Place the Ground
Before anything else, decide whether your level uses the default ground or a custom one. For a first level, the default ground is fine it gives you a flat, predictable surface to build on. You can always swap it for something custom later once you’re comfortable with the editor.
» Step 3: Build a Simple Layout First
Don’t start with spikes and obstacles. Start by placing a basic run of blocks across the grid flat ground, maybe a step up or down here and there. This gives you a skeleton to build the actual challenge on top of, and it’s much easier to add difficulty to a working layout than to fix a layout that’s already covered in hazards.
Keep your first level short. A 30–45 second level that’s well-paced beats a two-minute level that falls apart halfway through.

» Step 4: Add Obstacles and Hazards
Once your basic path is down, go back through and add spikes, gaps, and simple jump timing. Keeping what actually makes a level feel fair in mind, a few rules save first-time creators a lot of frustration:
- Leave enough space after a jump before the next hazard. Cramped spacing that looks fine zoomed out often plays unfair at real speed.
- Test every section as you add it, not after the whole level is built.
- Avoid hazards placed right at eye-line transitions or camera changes these are genuinely hard to react to and frustrate players for the wrong reasons.
» Step 5: Test Short Sections

Use Practice Mode to learn difficult sections. Its player checkpoints differ from editor testing tools and Platformer checkpoint objects. Keep these systems separate when designing a Classic level; see the official editor guide.
» Step 6: Test the Full Level
Run the level from the actual start to test transitions, entry speed and difficulty together. An isolated editor test does not establish a complete verification. Use the verification guide before uploading.
Test frequently, not just at the end. A single section that plays wrong is far easier to diagnose right after you build it than after you’ve placed another fifty objects on top of it.
» Step 7: Add Basic Decoration
This step is easy to skip, but even simple decoration background color changes, a few shapes, contrasting colors between ground and background makes a big difference in how finished a level looks. It doesn’t need to be complex for a first level; consistent color choices alone go a long way.
» Step 8: Publish
Verify the finished level in the game, then upload it through the level’s sharing controls with an account that can upload. Use a clear name and honest description. Upload verification and a star rating are separate steps; consult RobTop’s level FAQ for upload or rating questions.

» Common Mistakes for First-Time Creators
- Making the level too long. Long levels multiply the chances of a bad section ruining the whole thing. Short and solid beats long and shaky.
- Copying difficulty from levels you’ve played, not tested. A section that felt hard as a player might be unplayable as your own creation once hitboxes and speed are accounted for. Always test it yourself.
- Skipping playtesting from someone else. If possible, have another player try your level before publishing. You already know your own layout by memory, which hides timing problems you won’t notice yourself.
- Ignoring feedback after publishing. Comments on a published level are often the fastest way to catch problems you missed.
» Frequently Asked Questions
» Conclusion
Finish a short, tested project before extending it. For the next level, use the planning and iteration workflow. Keep editor controls, building steps and publishing checks as separate tasks.