
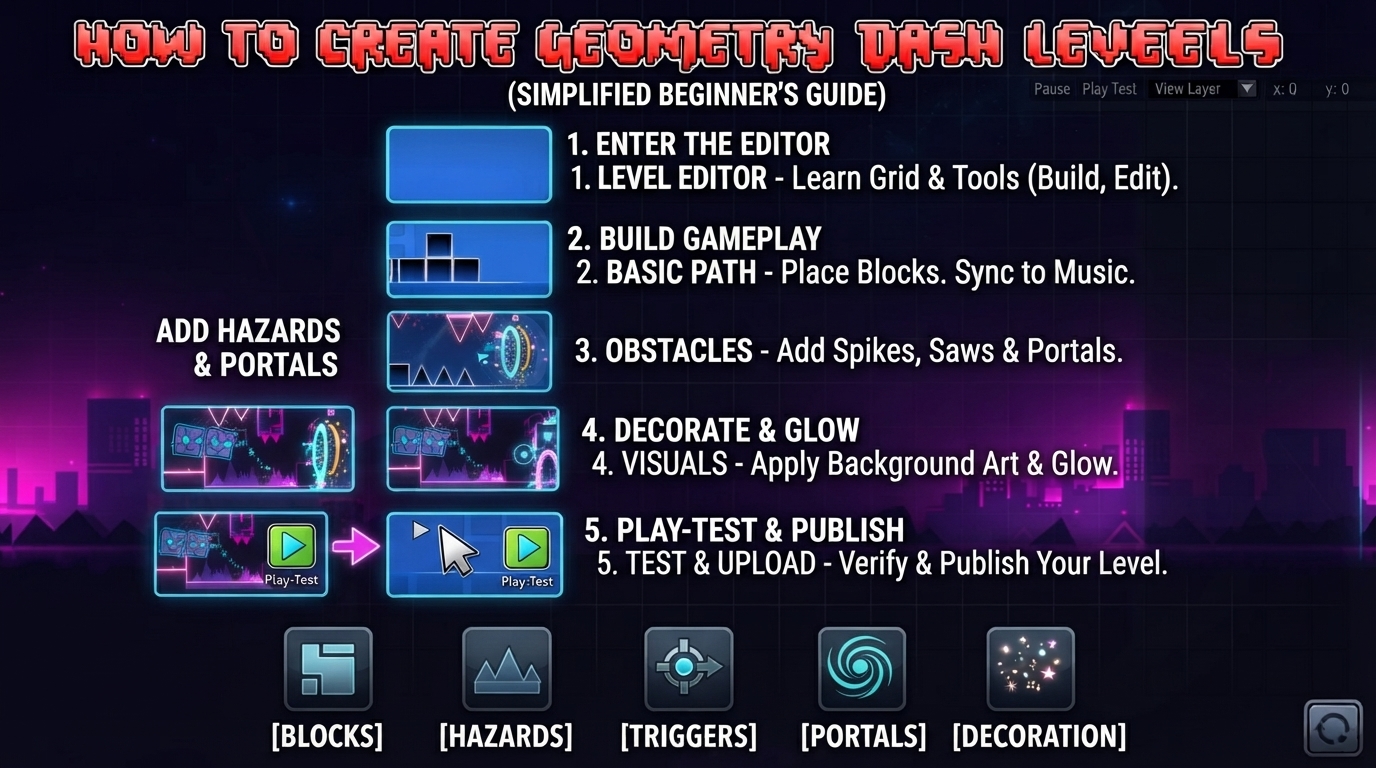
There’s a difference between building a level and designing one. Building a level means placing objects until you reach the end. Designing one means every section exists for a reason the pacing builds somewhere, the visuals reinforce the gameplay instead of distracting from it, and the difficulty progresses instead of spiking randomly. If you’ve already made a level or two and you’re wondering why they don’t feel as good as levels you enjoy playing, the gap is almost always process, not skill with the editor itself.
This isn’t a step-by-step tutorial for your first level that’s a separate, more linear process. This is the workflow that experienced creators actually use once they’re past that stage.
» Start With a Concept, Not the Grid
Opening the editor and improvising object by object is how most first levels get made, and it’s fine for a first level. But it produces levels that feel disconnected section to section, because nothing was planned to connect. Before opening the editor, decide on:
- A gameplay identity. Is this a fast, straightforward cube level, or does it lean on ship sections, wave sections, or mode switches? Levels that commit to an identity read as more intentional than ones that try to include everything.
- A rough length and difficulty target. Even a loose target (“short, easy-medium difficulty”) keeps you from building a level that balloons in length and difficulty as you go.
- A visual theme. Color palette, background style, decoration density deciding this early saves you from redoing decoration later because it doesn’t match what you built first.
» Build in Passes, Not Start to Finish
A common mistake is building the level linearly and completely, section by section, decoration included, before ever testing the whole thing. Instead, build in passes using the editor’s tools:
- Gameplay pass place the core blocks, hazards, and mode changes for the entire level, with minimal decoration. Focus entirely on whether the gameplay works.
- Testing pass play through the whole thing and fix pacing or difficulty problems while the level is still simple to edit.

Following this, the final two stages complete the build:
- Decoration pass once the gameplay is locked in, go back through and build out the visual layer.
- Polish pass final testing, small timing adjustments, and cleanup.
Doing decoration before gameplay is solid means you’ll end up rebuilding decoration every time you change the underlying layout, which wastes far more time than doing it in the right order.
» Think in Terms of Pacing, Not Just Difficulty
Difficulty and pacing and difficulty aren’t the same thing. A level can be objectively easy and still feel bad if it’s paced poorly long flat stretches with nothing happening, followed by a sudden difficulty spike with no buildup. Good pacing usually means:
- Difficulty increases gradually rather than in sudden jumps.
- Visually and mechanically intense sections are followed by calmer ones, giving players a moment to reset.
- Mode changes (cube to ship, for example) are used to break up sections, not just placed randomly.
Playing through levels you admire with this lens noticing where they slow down or ramp up teaches pacing faster than reading about it in the abstract.
» Keep Your Visual Style Consistent

Decoration doesn’t need to be complex to look intentional. What actually reads as “designed” is consistency: a limited color palette used throughout, decoration density that doesn’t wildly fluctuate section to section, and a background treatment that matches the level’s overall tone. A level with five different unrelated color schemes looks more amateur than one with three colors used consistently, even if the second level’s decoration is technically simpler.
» Iterate Based on Real Playtesting
Your own testing will always miss things, because you know your level by memory. Getting even one or two other players to try it through a friend, a Discord community, or a small test group surfaces problems you’re blind to: sections that read as unclear, timing that only works if you already know it’s coming, or visual clutter that hides a hazard.
Treat early feedback as information, not criticism to defend against. If multiple testers get stuck at the same spot, that’s a design problem, not a “skill issue” on their end.
» Common Process Mistakes
- Building decoration before gameplay is finalized, leading to constant rework.
- Ignoring pacing in favor of raw difficulty, which makes levels exhausting rather than satisfying.
- Never testing with anyone but yourself, which hides the exact problems that matter most.
- Changing visual style partway through without going back to make earlier sections match.
» Frequently Asked Questions
» Conclusion
Creating levels that feel good isn’t about knowing more editor tricks it’s about having a process: plan before building, separate gameplay from decoration, pace difficulty deliberately, and actually playtest with other people. Apply this to your next level and the difference shows immediately, even before you touch a single trigger, paving the way to understand how a finished level actually gets rated.